Sharon did a great post last Wednesday night highlighting the new Pink & Main laminating machine and how to use it with several different products and techniques. She also shared some store photos which you may have seen in your emails and some new product. Lots to see so let’s get started. New from Spellbinders are these stencil blending brushes in three sizes.
A new die set that will coordinate with existing and new to come dies, fence, barrel, wheel and birdhouse.
Janelle was excited about these chicken stamps from Simon Hurley. She has chickens in her yard!
Some of these delicate floral dies from Spellbinders would work well with the fence die above.
More foil plates from Spellbinders.
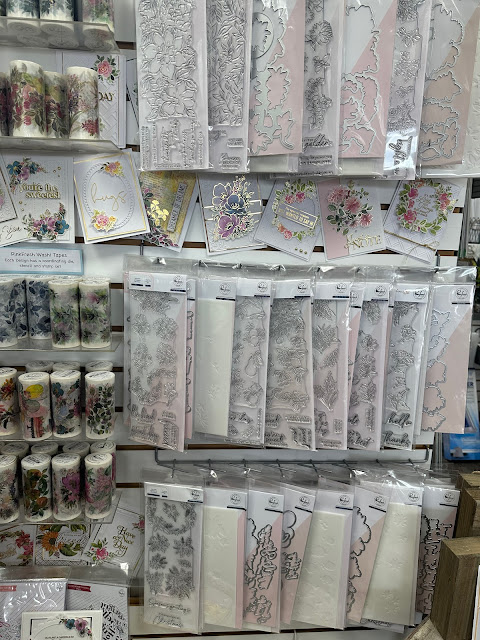
Store displays, NEW Pretty Pink Posh
I love these little guys from Colorado Craft Company. I've even signed up for the class!
I made a card with my Washi rolls and their coordinating dies this week.
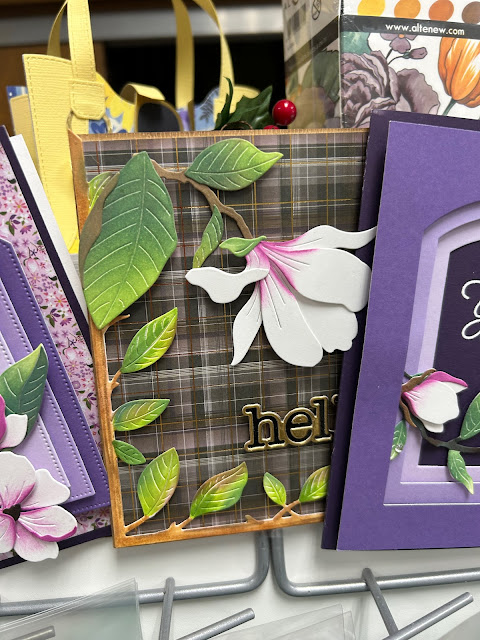
New from Memory Box, these Magnolia dies with coordinating paper packs, words and more!
The new Pink and Main foil laminator.
This machine can be used with toner transfer sheets that come in many forms.
This is the toner ink that can be used with your stamps. NOTE: I talked about this more in my Part II post.
You lay your foil, shiny side up over the toner image...
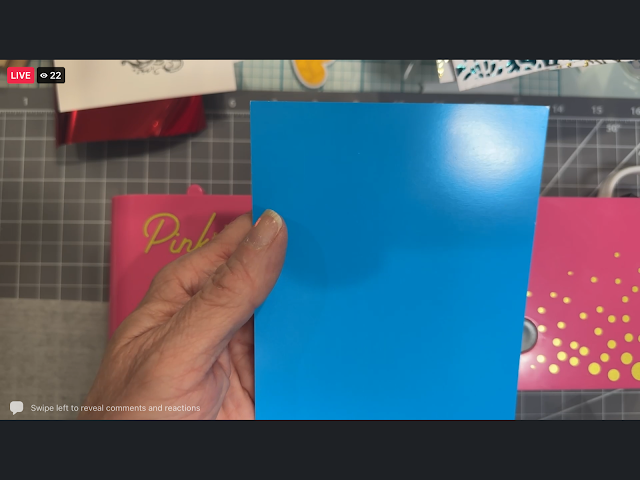
But both inside the enclosed carrier sheet and feed into your machine the fold side first. NOTE: If you lose your carrier sheet you can use parchment or deli paper.
Here is her sample. Love that shimmer!
This is another example of a toner sheet. Let's see how it comes out.
Sharon used deli paper as a carrier sheet for this sample.
You can use both the toner with it's shimmery color AND the negative portion for another card.
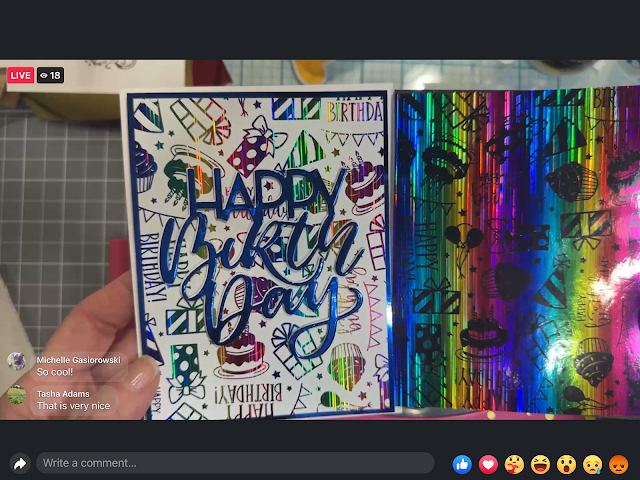
This next sample uses striped rainbow foil. Sharon also used a large sentiment die cut out of metallic blue paper.
This foil can be used in both the traditional laminator machine AND in the new Hot Foil machines.
Look carefully and you can a raised shiny pattern on this one. It was created with Deco Gel. You apply with pallet knife. It will have a tacky finish. Lay your foil, shiny side up on top of your paper and run through your laminator.
Bad photo of Deco Foil Transfer Gel!
You can see the raised pattern when the foil is pulled off.
Another example done with a scripty stencil and gel.
Toner sheets also come in colors!
I showed this in Part II, using toner ink on a rubber stamp. Sharon discovered the foil transfers a bit better if the ink is a little wet still. In the second photo you can see where the foil didn't adhere as well. This sample had dried completely.
The sample with the still damp ink came out great.
Several more samples.
You can also used pre-printed toner sheets made of acetate. We carry the complete variety of lamination foils and methods.
Using the positive and the negative foil.
That’s it for today. I’ll be back after Wednesday. My funny for the post is brought to by Cooper our cocker spaniel.
I’m keeping my fingers crossed the sun lasts longer than it’s 15 minutes of fame. Enjoy your week, stay crafty and above all stay safe.











No comments:
Post a Comment