I set my alarm, had my pad right in front of me, and kept refreshing Facebook in anticipation of Wednesday night's video. Then I waited and waited and waited some more. I refreshed several times but never got the notification that Sharon was live on FB. Her video never came up on my feed! I waited about twenty minutes then texted Sharon to see what the story was. Sharon replied she did her video but didn’t see any comments, very strange. I thought I figured it out but I’m still clueless. I’m getting to dislike FB. (I found out later that a number of FB influencers has the same problem when they tried to do videos on Wednesday).
Anyway, Sharon and many other store owners across the US and around the world joined into a Facebook class that showcased future releases starting in July and going through September and Christmas. New Glimmer plates, new letterpress plates, new dies, stencils and more! Sharon picked what she liked best and created lots of sample cards that we’ll share with you in this post.

First up is some information on both glimmer plates and letterpress plates. Spellbinders has ‘color coded’ these plates so we know the difference. Letterpress plates are SILVER, Glimmer plates are GOLD. That said, you can use these plates in the others machine. We found this out through Sharon’s and others experimenting. I don’t believe it is necessarily recommended but, if care is taken and you thoroughly clean any plates you use in the letterpress, you can extend the use of your plates. Let’s see some samples.

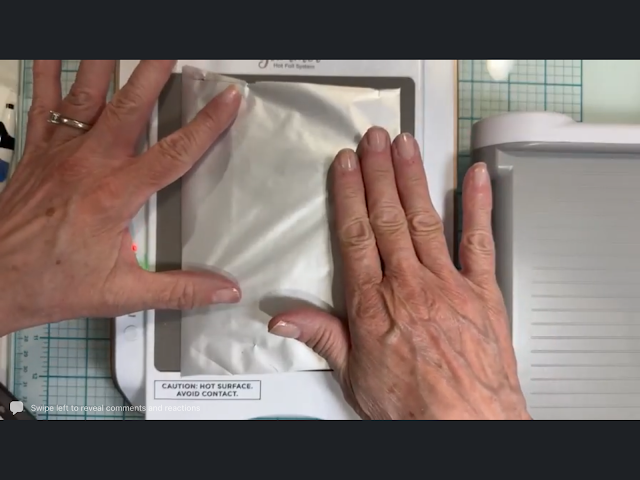
First, Sharon turned on her Glimmer machine. The plate above, on top is a letterpress plate. The one behind it is a new glimmer plate. Sharon will use this letterpress plate to show you how you can use these plates in your glimmer machine. Below the machine is turned on, see the red light. When the green light comes on you are ready to glimmer.

The green light is on so Sharon places her plate on her glimmer platform. The light will blink letting you know it's ready. Place your foil color side down on top of the plate.
Place your paper on top of your foil. When the flashing light goes solid, you are ready to run your glimmer plate through your die cut machine. You add the appropriate plates and run through your Big Shot or whatever you have.
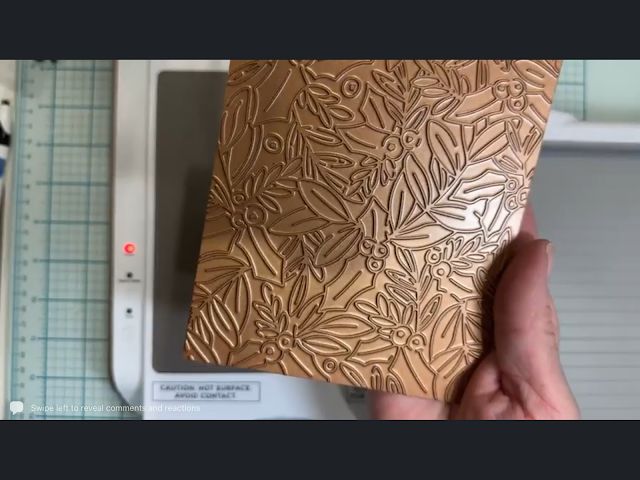
Gently peal your paper up and then peal the foil off. Save your foil! As you can see, your letterpress plate worked just as well as a foil plate. Plus - you can use the negative to create another image! You'll see the result below.
This is glimmer plate.
Sharon went through the same process to get this gorgeous result using an opalesent gold foil.
The negative was used here. Look at all that color!
This is another new plate that was used like an embossing folder. These plates are really versatile.
Here is a new glimmer plate that can be used with a coordinating stencil.
Here Sharon is taking the negative from the first letterpress plate and re-using it to lift off all foil left over.
This is the letterpress version of the plate. Sharon used black ink.
Three versions of the same plate, letterpress, glimmer and reverse glimmer.
A new die cut set for Christmas.
Sharon wrote the name of the dies on the back!
Another poinsettia die set but in blues and purples.
This is the plate that comes with your letterpress.
Several new letterpress plates done in glimmer and with ink.
Sharon used different inks and papers with the same letterpress plate.
Sharon played with this new poinsettia die in different ways and with glimmer, copics, layers, oh my!
Sharon also added this letterpress plate as a background on the red card. The red leaves were cut out of white and Sharon colored them with Copics.
Under construction, we'll see the result in a future post.
Spellbinders also has some fun dies including these gnomes on the road!
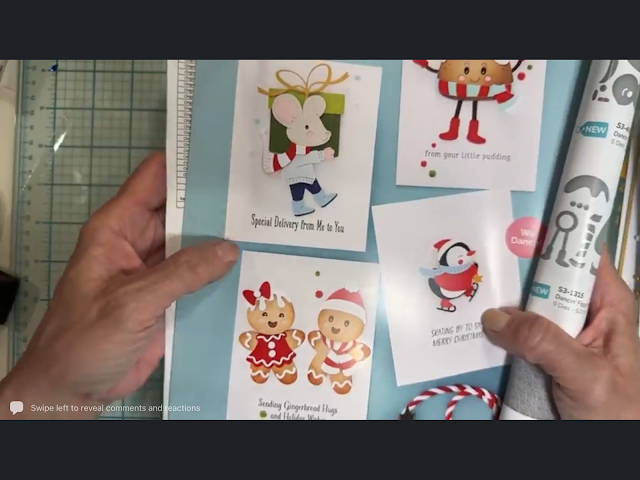
We have the Holiday catalog in the store and here are some of the designs we liked.
More add-ons you can use with those gnomes. You can see a bunch of different seasonal sets and samples.
Also in the catalog are these 'swinging' die sets.
Here is some of the assembly. You use pop circles for the swinging feature and you also need to pop up the top of the die for balance.
Last is another Susan Cockburn designed leaf project that Sharon is still working on. She will share when she finishes it.
We'll also have the new Lawn Fawn release to share with you. We have some new classes, check them out on our website and I'll be back after Saturday's video (if I can see it!)
This is why I don't drink Red Bull...
Have a great rest of your week. Do something fun and crafty and watch out for that sun! Above all everyone, Stay Safe!


No comments:
Post a Comment