We are tapping into our very talented customer base for our Friday afternoon technique demonstrations. This first week we were excited to have two very talented paper artists from our customer base, Judy T. and Jennifer L. Judy joined us on Facebook on Friday and demonstrated making flowers using Spellbinders dies and instructions from Susan Cockburn Tierney. I've also added Sharon's video from Wednesday featuring the BetterPress. It's a long one folks!
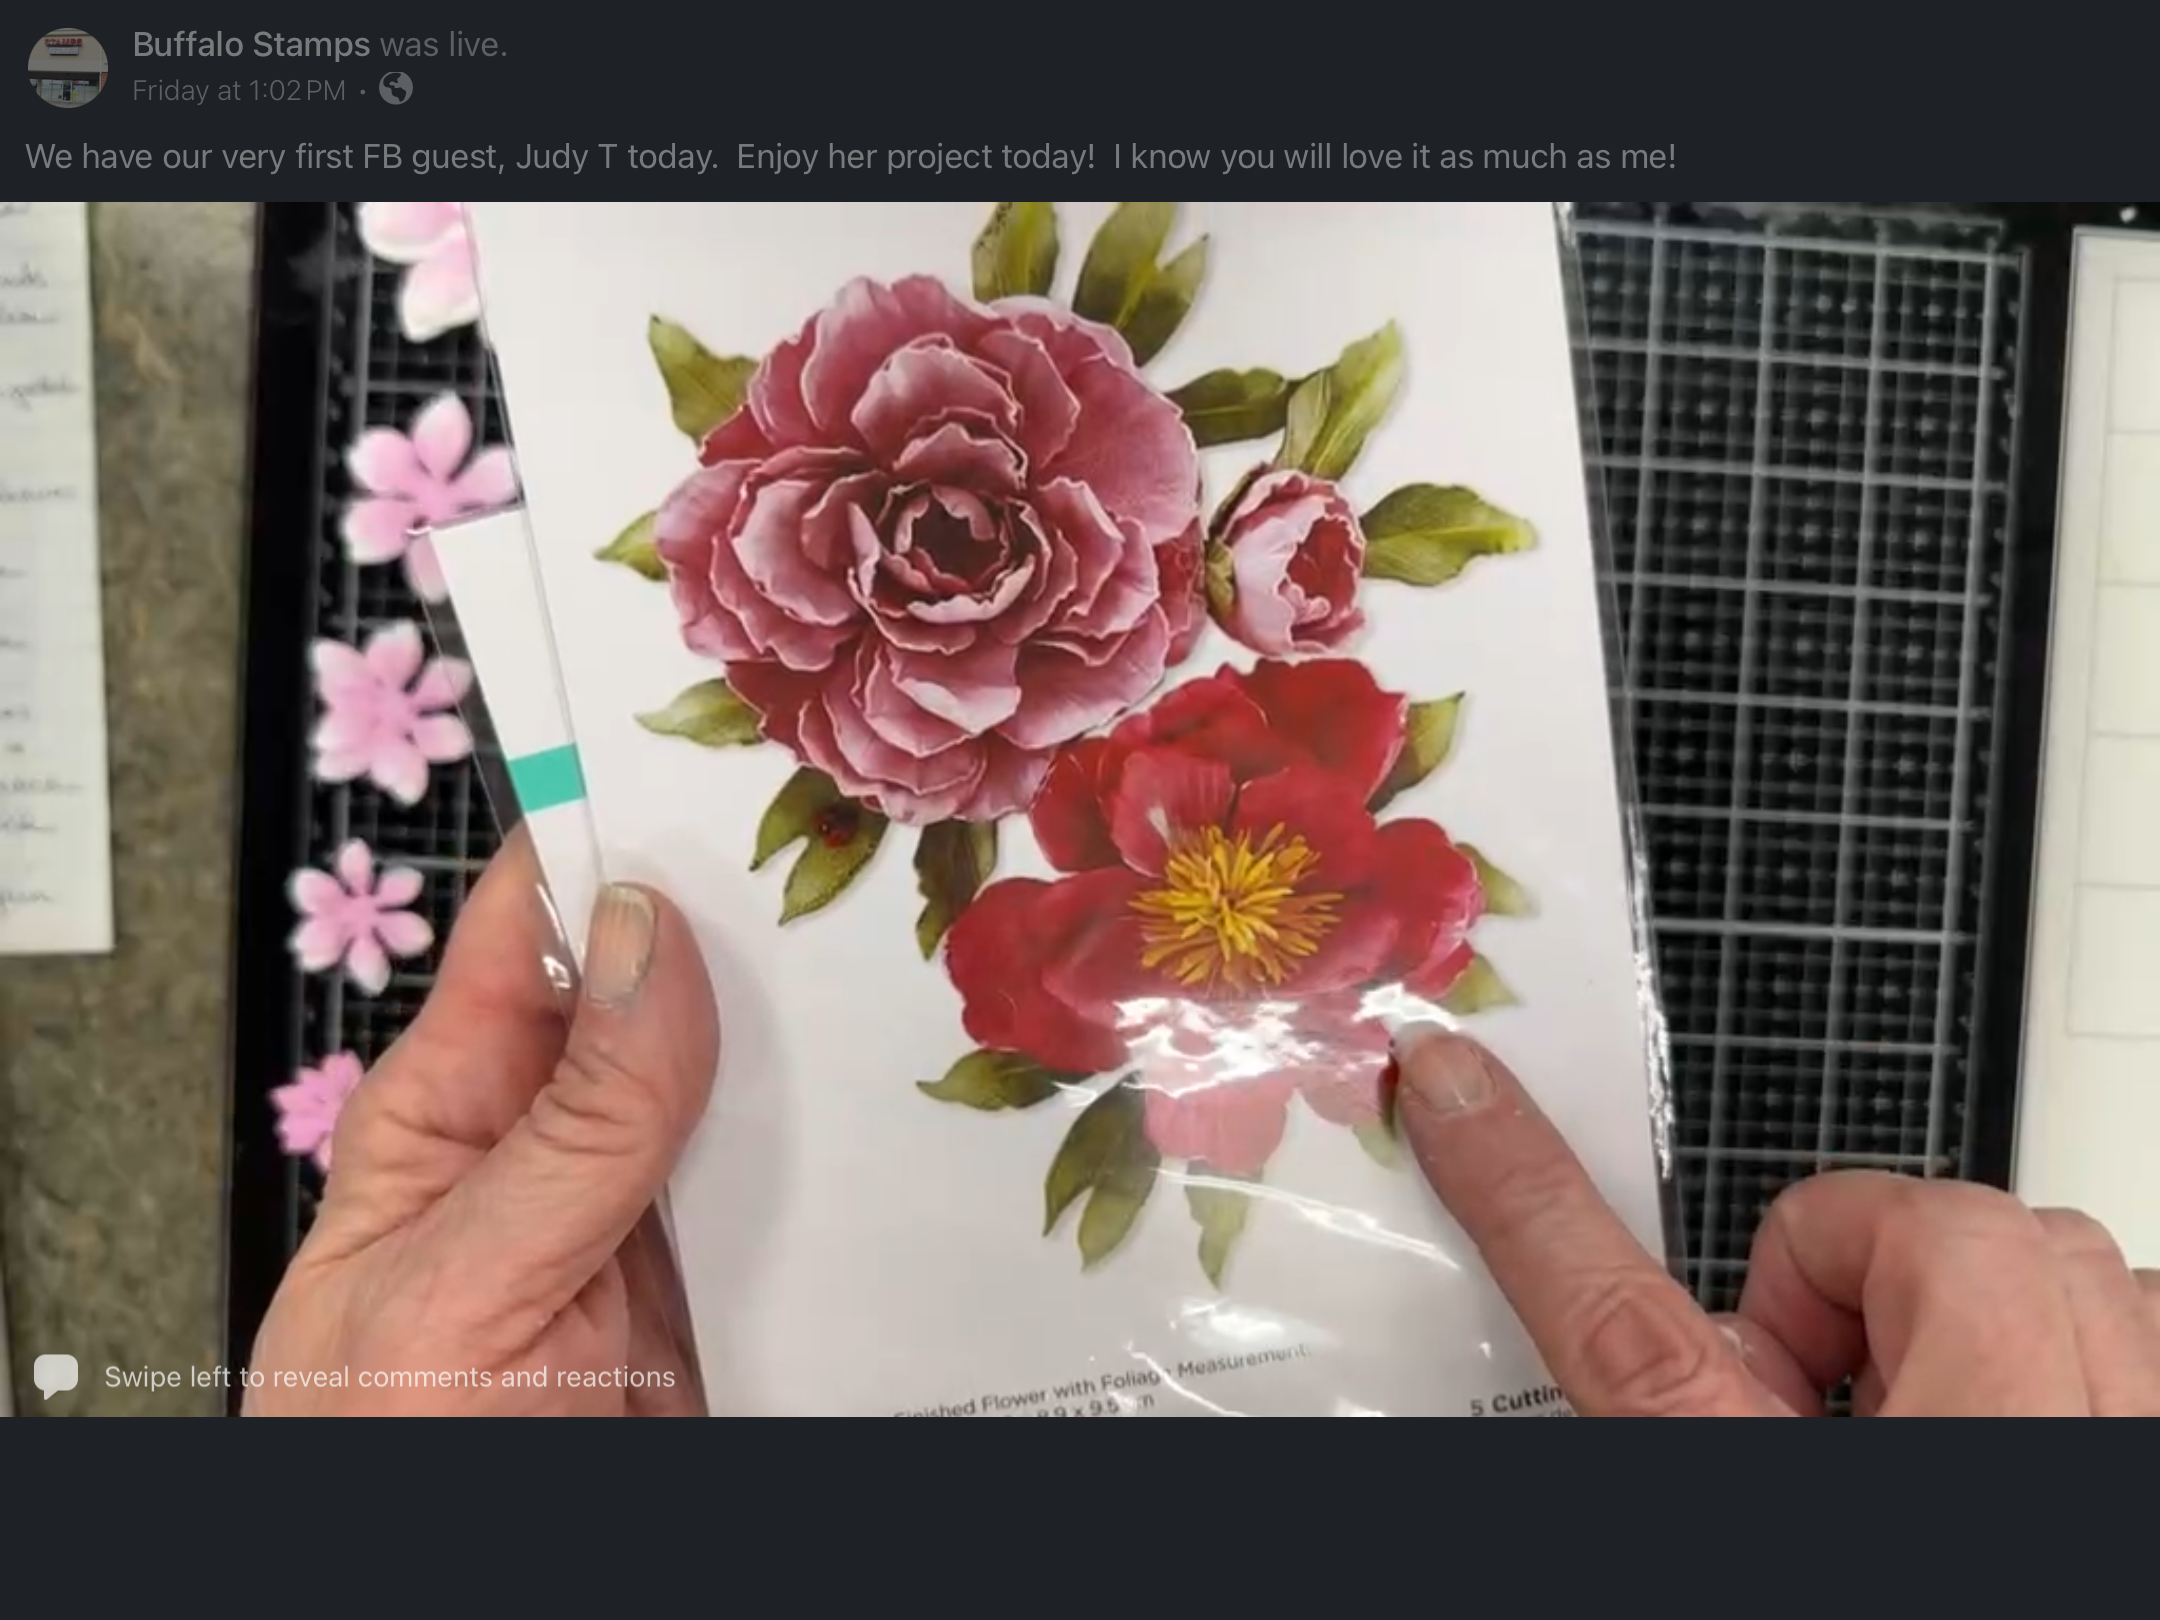
This is the die set used by Judy for the card on the right.
First to note are the small numbers on the dies for these flowers. In order to create the flower on the package, each level of petals has a number next to it. That number tells you how many of that petal cluster you need to cut. If there is no number next the die you only need one of that die.
Judy also used a leaf based pattern embossing folder to give her flowers a texture base.
Judy also recommended a Spellbinders specialty paper called 'Susan's Garden Speciality Cardstock'.
Spellbinders also has a tool kit specifically made in conjunction with these dies for creating these flowers.
Here is an example of a finished flower in a deeper color.
Judy also shared a second card she created.
On to making these flowers. After cutting out your flower petal layers add color before assembly. In this case Judy added color in the center of the flowers lightening as you get to the outer part of the petals.
As you look at these petals they are flat. After coloring the shaping of the petal begins. To make the paper more malleable, take several layers of paper towels, lay the petals on the paper towels and gently mist the petals with water. Do not soak! We have several water spritzers/misters in stock along with this minster from Spellbinders.
Using the reverse tweezers inside the kit, gently grab one of the edges of a petal and roll it towards the center. Repeat this roll with the other side of the same petal. Repeat this process for each individual petal on all your petal layers.
You can see the difference in the petal base before and then after you've curled all your edges.
Next, take the stylus tool from the tool box and with the larger ball tip place each petal piece on a cushioned pad and gently press down in the center. It will force the petals up.
Once all your petals are formed, make a small dish of liquid glue and let it sit for a bit so it thickens up. With a toothpick add a dab of glue to the base of each petal, in the center. Do not put any glue on the individual petals themselves, just the center base. Add each petal piece on top of the last by size, largest to smallest in the same manner.
You are left with this funny looking piece. This will create your center.
To prep the piece, use the small ball piece and gently press the ball end on to each of the petals,
Take your reverse tweezers with the fine point and gently curl this piece all the way to the end and secure with a dab of glue. Dip the base into the glue and position the bud you just created into the center of your flower.
You also get leaves as part of this die set. Color your leaves in your choice of colors. Judy added her darker color to the base of the leaf and feathered out her color from there.
Using the leaf tip for your stylus tool score the veins of the leaves and using the tweezers and ball ends, create dimension by gently folding and curling.
You can also use chalk to enhance your coloring.
Judy also used this die set to fill in on her card.
These are the little buds you can create.
While we do not carry these 'Slime Balls Billes' you can get them at Michael's.
Pour a small amount of these styrofoam balls into a plastic bag. Add several drops of alcohol into the bag, seal it up and mush it all around.
Color the stem portion of the die.
The balls on the left are as they come in the package. Judy added a pale gray alcohol ink to color the bag on the right.
Gently dip each ball into your glue then adhere to the tips of the branches.
Samples Judy made using the variety of dies we carry.
Because these dies create a dimensional flower, you can't fit these cards in a standard flat envelope. Judy uses these clear boxes to deliver her cards. It was a great presentation, thanks Judy!
On Saturday, Jennifer L. followed Sharon's new product review with her favorite technique for using layered stencils. This is the stencil set Jennifer used in her demo.
Jennifer's final card, let's see how she got there.
To make her card base Jennifer used this arches nested die set.
By not cutting on there folded side, just fitting the die on the top and the open side of the card base, you can create a domed card.
This will come in at the end.
It's hard to see in this photo but Jennifer used the large heart from there die set on the left to cut out and pop part of the background.
Big Hugs came from this die and sparkly paper.
Jennifer also used the following dies from Hero Arts, Altenew and Waffle Flower.
To accent her images Jennifer uses gel pens and gold pens.
More samples
This wood grained cardstock helps give texture to the card.
Hero Arts sentiments that have matching dies.
This is the card base that Jennifer is going to illustrate below.
Pink Fresh sentiments with matching dies.
This card is being built on Kraft cardstock.
The first step is to go through each stencil level with a white ink pad. Jenn used a rounded foam pad to add the white ink.
The white is complete and now Jenn will use Distress Oxides and go over what she already did in white.
After all the ink has been added, Jennifer masked off portions of the last stencil and added Lunar Paste to accent the flower petals.
Jennifer then used a black gel pen to emphasize the tiny dots on the center of the flowers.
Her finished card base, all it needs is the sentiment. You can also kick this method up by slightly offsetting the colored inks as you add them.
All her amazing work!
Sharon demoed her BetterPress machine on Wednesday. She shared several new plates and the monogram series.
In addition to new colors, Sharon demonstrated multi-plate multi-colored images.
Each multi-plate set comes with a placement guide for lining up your individual plates in the right spot.
Three videos in one post! Next up may be Saturday. Sharon may be heading to Syracuse this weekend so we may get a guest artist sighting from Master Manny! I'll be back if there is a post on Saturday with whatever new stuff Sharon has to share.
My funny for the post. Luckily I don't have crocs and I don't knit!


No comments:
Post a Comment