We were all over the place this weekend. Sharon did her usual Saturday morning video on Friday afternoon. Instead of being in the store on Saturday morning, Sharon along with Mona and a few others were across town at our Garage Sale in Williamsville. I was a vendor at the sale after spending a furious week pulling, pricing and packing my new and gently used stuff for the sale. If you weren't able to attend here are a few photos of the event.
As you can see just a few people showed up! Just teasing, I was sitting at the back of the room and at one point the checkout line stretched from along the front of the hall, down one side, across the back of the room and almost started up the far side of the room! It was a great turnout. We could have wished for a little air conditioning but we had great light, plenty of room for the large tables for each vendor and lots of bargains.
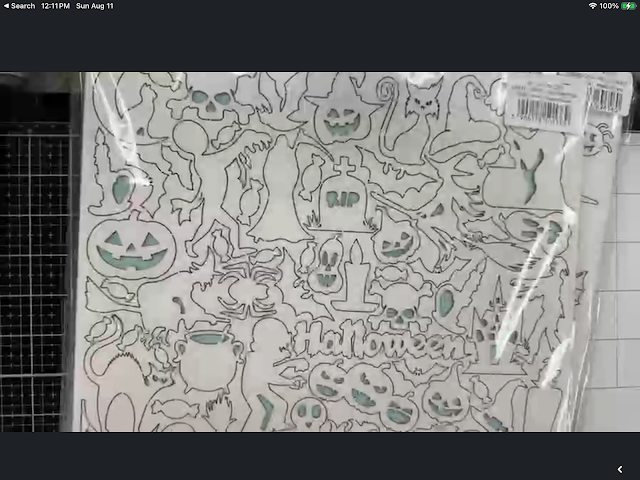
This may be a repeat of last week but Sharon shared these laser cut wooden elements that you can ink, paint and distress however you want. We have two Halloween sets, a cool music set, lovely doilies, wreathes, ornaments and leaves.
Next up is new Picket Fence for Halloween.
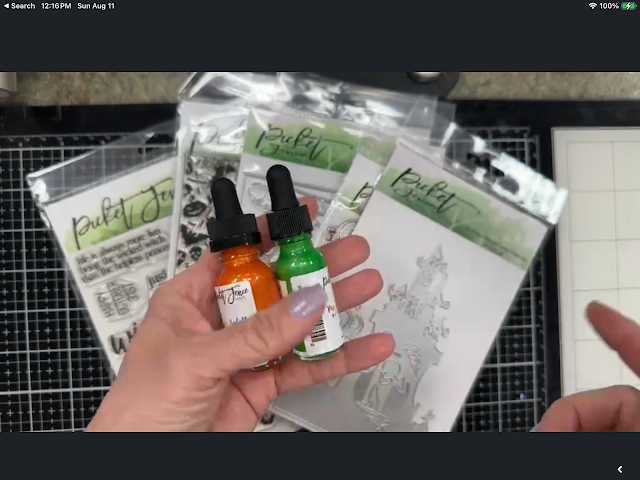
New splatter paints/inks from Picket Fence.
Wicked Spooky!
For those of you who like a sweeter Halloween...
Not my thing but really creepy spiders.
Hallographic (sp) papers.
Another in the boots series.
We also have a few winter/Christmas based sets.
One of my faves, snarky Christmas greetings.
We have a few things from Penny Black.
I love Penny Black for the inside of my Christmas cards.
This was very hard to see, but it is an embossing folder featuring sheet music.
We're a little mixed up with these next few. We have a few AALL & Create (that may have a few repeats) along with new Doodlebug.
New Doodlepop
Lots of Mini Jewels and Shape Sprinkles
Doodle Stamps!
Back to AALL & Create with those buggy eyes!
A very colorful Santa
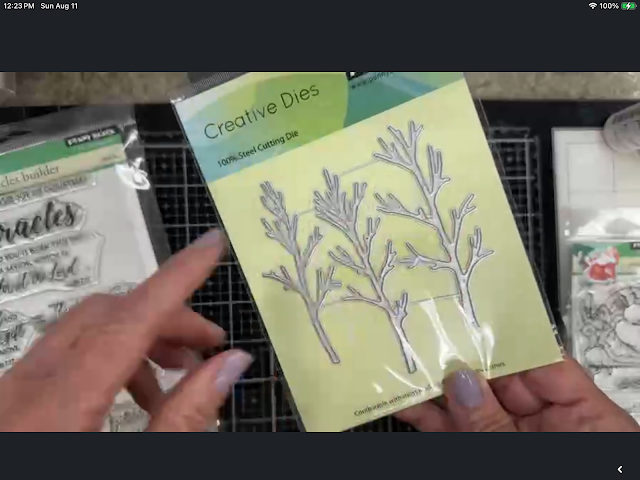
Artistic trees
Ephemera cats! - 57 pieces in two styles.
Let's not forget the puppies, again two styles with over 60 pieces!
Oh Christmas Tree!
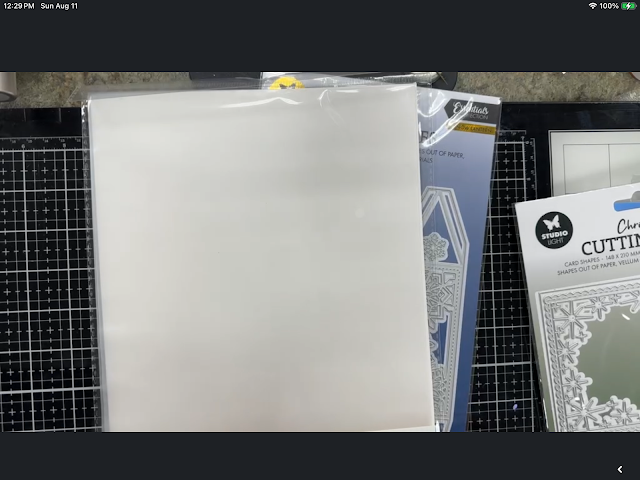
Moving on to Studio Light is this detailed arch shaped die that creates a card. There is no cut line between the two arches. Instead there is a score line so you can fold it in half.
We featured a box card die last week and we have another one with snowflakes. Sharon assemble one of these, the deer box, in a class she took in Las Vegas.
In the class she used this paper which doesn't appear that unusual but in reality has hidden stars.
Add a fairy light kit and see what happens when you use the paper above to line the box.
Stars!
Stars!
Moving on we have a new PhotoPlay Halloween collection in Pink!
Lil' BOO Thing!
For those more traditional folks -Spooktacular Halloween paper kit with stickers and a cut apart.
I like this one. I sold some Halloween paper at the Garage Sale so I may have to purchase this one to replenish my stock!
Some more traditional paper from PhotoPlay.
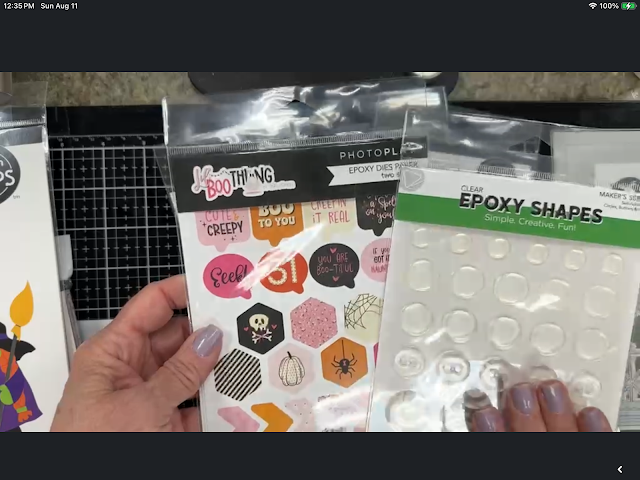
It goes along with these clear enamel shapes. Remember back in the say when we used these clear plastic shapes to accent a small portion of a photo of paper image? Well, they're back and they fit several of the PhotoPlay cut-apart sheets including one of the pink Halloween ones.
Large Spooky.
OK, we're back to paper. This collection has a steam punk, junk journal vibe.
Willow and Grace, a bit more subdued.
We had a bit of a time out. Sharon had to run and get something in the store but Mona was at the table preparing for her contribution to Friday's video. Sharon told her to keep going with sneak peaks. Unfortunately, Mona held them too close to the camera so these are a little difficult to see. They are lace doilies in several different styles. I wish I could have gotten a better photo.
More ephemera pieces from Uniquely Creative.
Last up are these two frames from Penny Black.
Sharon also wanted to share two classes. The first is this Sweet Things.
The second is this accordion album using Willow and Grace papers. Love the Allentown reference!
Mona also loved these cross-stitch dies from Spellbinders.
Sharon also threw these in, Waffle Flower has these two die sets for you stitchers out there.
Finally, back to Mona's favorite holiday, Halloween. These are Sizzix, Tim Holtz's new release. Several are re-imagined, re-sized former designs.
Mona cut out most of this one and demo'd how to do a reverse image. She cut out the witch twice and flipped it over as it was a mirror image. But, you know you can feel and see that one of the images is reversed. To help fix that, Mona suggested that you put your flipped image down on a soft surface and gently rub around the edges to flatten and smooth them out .
Mona plans to use these in a follow-up box card design Sharon created a few month ago.
This first try also added 'steps' to add elements to the inside of the the box.
She tried to show the dimensions but I had a hard time trying to capture. Basically, you use a full sheet of 8 1/2" x 11" paper. With the 11 inch side on top you score at 2", 3 3/4", 7 1/4" and 9". Rotate your paper so the 8 1/2" side is at the top of your score board. Score at 1 3/4", flip your paper and score at 1 3/4". these are your basic score lines. As you can see from the photo below, you will cut a portion of each corner. You also need to make a tic mark at the center of your longest sides and where your 3 3/4" score meets your 1 3/4" score on all four sides ( the right side will be your 7 1/4" score). Connect these triangle points with score lines. You can see in several of the following photos how much is cut off the corner and how the score lines are folded to create your box.
Have a great week everyone. Get some crafty time in, check out all those great buys from the Garage Sale but above all, Stay Safe!
Next up is a new collection of papers in support of local Buffalo sports teams, the Buffalo Bandits and the Buffalo Bisons! This first sheet features Bandits colors and is followed by splatter sheets in both sports colors. We already have Bison colors so the orange and purple is new.
Next up is new Picket Fence for Halloween.
New splatter paints/inks from Picket Fence.
Wicked Spooky!
For those of you who like a sweeter Halloween...
Not my thing but really creepy spiders.
Hallographic (sp) papers.
Another in the boots series.
We also have a few winter/Christmas based sets.
One of my faves, snarky Christmas greetings.
We have a few things from Penny Black.
I love Penny Black for the inside of my Christmas cards.
This was very hard to see, but it is an embossing folder featuring sheet music.
We're a little mixed up with these next few. We have a few AALL & Create (that may have a few repeats) along with new Doodlebug.
New Doodlepop
Lots of Mini Jewels and Shape Sprinkles
Doodle Stamps!
Back to AALL & Create with those buggy eyes!
A very colorful Santa
Artistic trees
Ephemera cats! - 57 pieces in two styles.
Let's not forget the puppies, again two styles with over 60 pieces!
Oh Christmas Tree!
Moving on to Studio Light is this detailed arch shaped die that creates a card. There is no cut line between the two arches. Instead there is a score line so you can fold it in half.
We featured a box card die last week and we have another one with snowflakes. Sharon assemble one of these, the deer box, in a class she took in Las Vegas.
In the class she used this paper which doesn't appear that unusual but in reality has hidden stars.
Add a fairy light kit and see what happens when you use the paper above to line the box.
Stars!
Stars!
We also have these three ATC sized card packs.
Moving on we have a new PhotoPlay Halloween collection in Pink!
Lil' BOO Thing!
For those more traditional folks -Spooktacular Halloween paper kit with stickers and a cut apart.
I like this one. I sold some Halloween paper at the Garage Sale so I may have to purchase this one to replenish my stock!
Some more traditional paper from PhotoPlay.
It goes along with these clear enamel shapes. Remember back in the say when we used these clear plastic shapes to accent a small portion of a photo of paper image? Well, they're back and they fit several of the PhotoPlay cut-apart sheets including one of the pink Halloween ones.
PhotoPlay also has a new mushroom stamp set with matching die. OOPS! How did that Picket Fence get in there?
Gnomes for the seasons
Sayings for your cards.Large Spooky.
OK, we're back to paper. This collection has a steam punk, junk journal vibe.
Willow and Grace, a bit more subdued.
We had a bit of a time out. Sharon had to run and get something in the store but Mona was at the table preparing for her contribution to Friday's video. Sharon told her to keep going with sneak peaks. Unfortunately, Mona held them too close to the camera so these are a little difficult to see. They are lace doilies in several different styles. I wish I could have gotten a better photo.
More ephemera pieces from Uniquely Creative.
Last up are these two frames from Penny Black.
Sharon also wanted to share two classes. The first is this Sweet Things.
The second is this accordion album using Willow and Grace papers. Love the Allentown reference!
Finally, Mona's here! We usually start our weekend with Mona but today we're ending it. Mona used the Pretty Pink Posh tree plate and cut out eight of them and created a variety of cards with them. She was very excited for Monday to come as the Pretty Pink Posh Halloween release with be made public (Shhh! we already have it in the house!) Until then, these are Mona's creations.
Mona also loved these cross-stitch dies from Spellbinders.
Sharon also threw these in, Waffle Flower has these two die sets for you stitchers out there.
Finally, back to Mona's favorite holiday, Halloween. These are Sizzix, Tim Holtz's new release. Several are re-imagined, re-sized former designs.
Mona cut out most of this one and demo'd how to do a reverse image. She cut out the witch twice and flipped it over as it was a mirror image. But, you know you can feel and see that one of the images is reversed. To help fix that, Mona suggested that you put your flipped image down on a soft surface and gently rub around the edges to flatten and smooth them out .
Mona plans to use these in a follow-up box card design Sharon created a few month ago.
This first try also added 'steps' to add elements to the inside of the the box.
She tried to show the dimensions but I had a hard time trying to capture. Basically, you use a full sheet of 8 1/2" x 11" paper. With the 11 inch side on top you score at 2", 3 3/4", 7 1/4" and 9". Rotate your paper so the 8 1/2" side is at the top of your score board. Score at 1 3/4", flip your paper and score at 1 3/4". these are your basic score lines. As you can see from the photo below, you will cut a portion of each corner. You also need to make a tic mark at the center of your longest sides and where your 3 3/4" score meets your 1 3/4" score on all four sides ( the right side will be your 7 1/4" score). Connect these triangle points with score lines. You can see in several of the following photos how much is cut off the corner and how the score lines are folded to create your box.
Mona's still working on her final version and will share it with us in her next video.
Whew! that was almost as long as the closing ceremony of the Olympics! I don't know why I thought this was going to be a shorter post. Here's my funny for the post. How'd you like to roll past this on the 290!











No comments:
Post a Comment